Expert Advice · Skills · 10 min read
How to teach a dog to heel: position, steps and uses
Heel is a short, precise position at your side for tight spots. Build it standing still, add one step at a time, and use a loose lead for the rest of the walk.
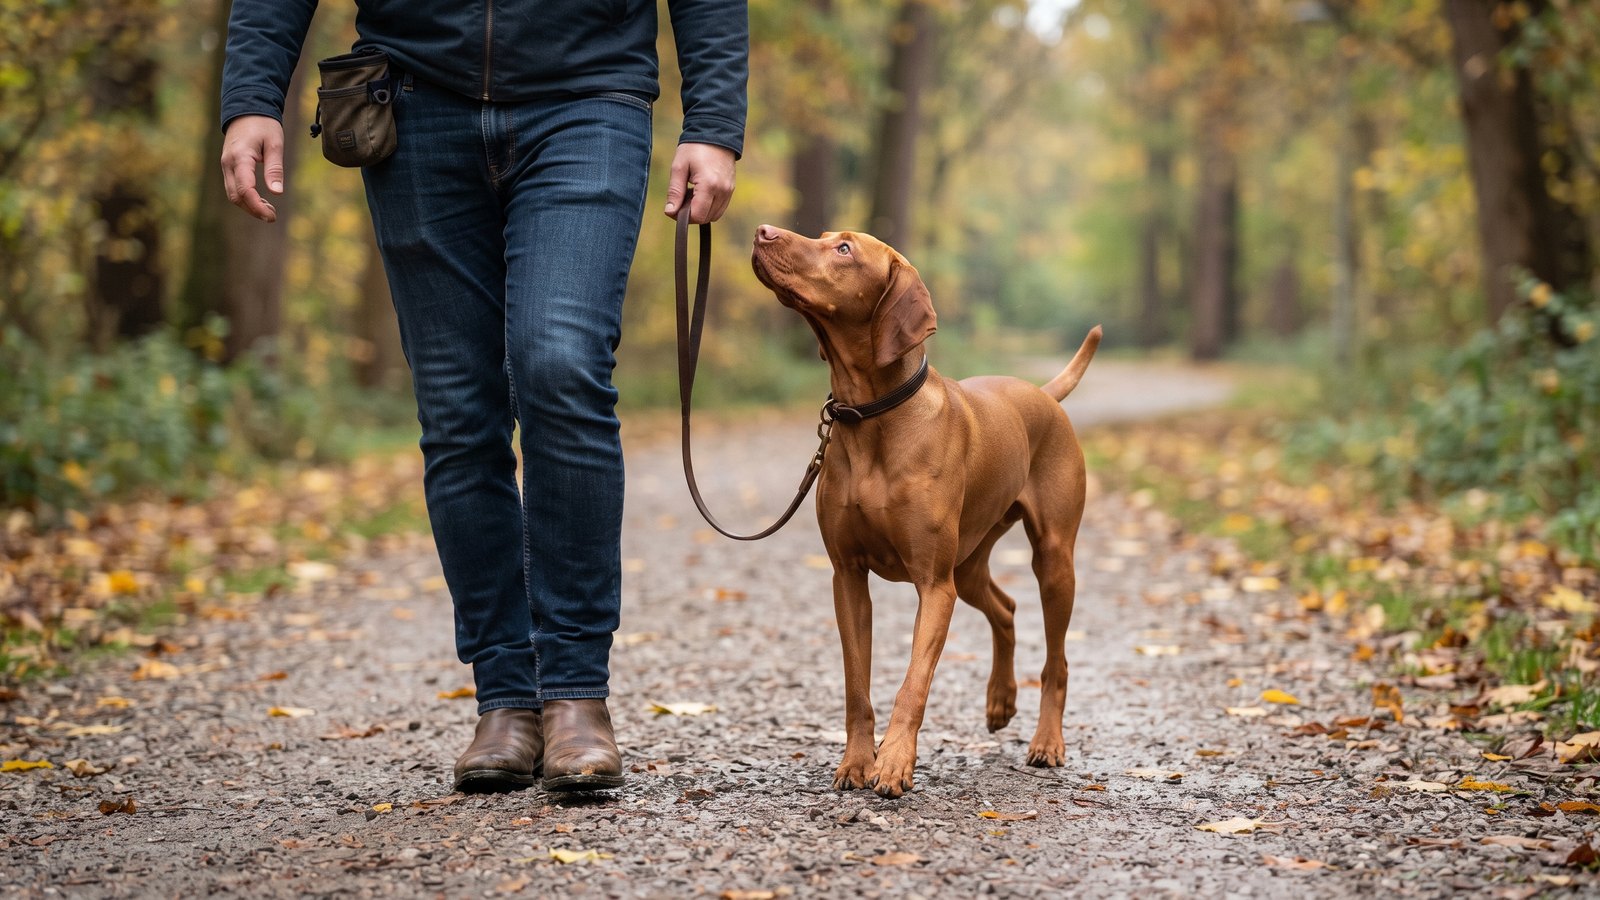
How to teach a dog to heel: stand still, use food to bring the dog’s shoulder level with your leg, mark and feed in that spot, then add one step at a time until you can walk, turn and stop with the dog glued to your side. Heel is a short, precise position for tight spots. For everyday walks without pulling, the method lives on loose leash walking. This page covers the formal heel.
I am Andrew Darov, a dog trainer. I am not a veterinarian. This is a skills page about the heel position and when you need it.
What does heel mean, and how is it different from a loose lead?
Use heel for the narrow bits of a walk and a loose lead for everything else.
In a heel, the dog walks on one chosen side with the shoulder level with your leg, facing the same way as you, close enough to touch your trousers. The lead hangs slack because the dog is right there. Many trainers also ask for the head up and eyes on the handler, though a pet dog can heel with eyes forward.
On a loose lead the dog can be in front, behind or to the side, can stop to sniff and can change sides, as long as the lead stays slack. That suits most of a walk. Heel asks much more of the dog, so keep it short.
When do you need a heel?
Short, busy moments where you want the dog in one known spot:
- passing another dog, a buggy or pram, or a jogger on a narrow pavement or sidewalk
- crossing a road or waiting at the kerb
- walking through a crowd, a shop doorway or a busy station
- moving past a dog that is barking behind a fence
- walking past food on the ground
For a sudden problem ahead, where you need to turn and leave, use the emergency U-turn. Heel is for calm, planned passing. The U-turn gets you out.
How do you teach heel position from scratch?
Start indoors, in a quiet room, with small soft treats and a pouch on the side you choose. Most people pick the left, which is standard in US and UK obedience classes. The right side works fine for a pet dog.
- Choose your words. A heel word (“heel” or “close”) and a release word (“free” or “okay”). Hold the heel word back for now. You add it once the position is easy.
- Lure into position. Stand still. Hold a treat in the hand on your heel side, at your dog’s nose, and guide the dog round so it ends up beside your leg, facing forward. Mark (“yes” or a click) when the shoulder is level with your leg.
- Feed in position. Give the treat at the seam of your trousers, at the dog’s nose height. Feeding there teaches the dog where the good spot is. Feed two or three times in a row while the dog stays, then say your release word and toss a treat away to reset.
- Fade the lure. After a few rounds, use the same hand movement without food, and feed from the pouch after the mark. A hand target helps here: the dog touches your flat hand held by your leg, and you mark the touch.
- Wait for the dog to find it. Stand still and let the dog work out where to stand. When it moves into position on its own, mark and feed twice. That is the start of a real heel.
Keep sessions to two or three minutes. Five good reps beat twenty sloppy ones. If your dog cannot sit or stand calmly beside you yet, the basics on how to teach a dog to sit are a good warm-up.
How do you add movement, turns and stops?
Add one thing at a time and keep the bar low.
Steps. With the dog in position, take one step forward. If the shoulder is still by your leg, mark and feed at your seam. Then two steps, then three, then five. If the dog drifts ahead or wide, go back to the last number that worked.
Turns. Turning away from the dog (a right turn when the dog is on your left) is easiest because the dog is on the outside. Turning towards the dog is harder because the dog has to slow and tuck in. Make that turn slow and feed the moment the dog tucks round.
Stops. Slow down over two steps, then stop. Mark and feed if the dog stops with you, still in position. A sit when you stop is optional. Add it later if you like it.
The word. When the dog moves into position fast, say the heel word just before you guide it in. After a few sessions the word starts the heel and the release word ends it.
Count steps rather than minutes. Ten good steps and a release is a great session for a young dog.
How do you take heel outside?
The hallway is easy. A pavement with smells, people and other dogs is much harder. Move up in small jumps:
- Hallway and kitchen.
- Garden or yard.
- A quiet street at a quiet time.
- A street with a few people.
- Passing another calm dog at a good distance.
At each new place, drop back to short stretches and feed more often. Ask for 10 to 20 steps, release, and give the dog a sniff on a loose lead as part of the reward. Food on the ground is a big test; the method for that sits on leave it on walks.
What if your dog forges ahead, lags or swings wide?
Forging ahead. Your treats are probably arriving in front of your leg, so the dog moves forward to meet them. Feed right at your seam, or slightly behind it. Take fewer steps between rewards.
Swinging wide. The dog curves away from you to look at you or the treat pouch. Practise along a wall or fence so the dog has to stay close, and feed close to your leg.
Lagging behind. Your pace may be too slow and dull, or the place too distracting. Speed up a little, use better treats and shorten the stretch. If lagging is new, see the vet section below.
Jumping up at the food hand. Hold the food hand still by your side and feed lower.
Only heels with food in view. Fade the lure sooner. Keep the food in the pouch and reward after the mark.
When should you ask your vet?
If your dog has started to lag, walk stiffly, hold its head low, or avoid one side, stop training heel and ask your vet. A heel asks the dog to walk close and turn tight, so any discomfort shows up there first. See when to call the vet.
What are the usual mistakes?
- Heeling for the whole walk. The dog gets tired and sloppy. Keep heel short and release often.
- Pulling the dog into position with the lead. Food and your hand show the spot better.
- Saying “heel” over and over. Say it once, then help with your hand if needed.
- Feeding in front of your leg. The dog forges to get there first.
- Switching sides. Pick one side for heel and keep it.
- Moving to a busy street too soon. Build up place by place.
Use this page with loose leash walking for everyday walks, the emergency U-turn for sudden problems, and the hand target for guiding the dog into position. More skills sit on the skills hub.
Questions on this page
What does heel mean for a dog?
Heel means walking with the shoulder level with your leg, on one chosen side, facing the same way as you, close enough that the lead hangs slack. Many people also ask for eyes up at you. The dog holds it until you say a release word.
What is the difference between heel and loose leash walking?
Loose leash walking lets the dog sniff and wander anywhere the lead allows, as long as it stays slack. Heel is a fixed spot at your side for short stretches, such as passing another dog on a narrow pavement. Most walks are mostly loose lead with a little heel.
Which side should a dog heel on?
The left side is traditional in obedience classes and competitions in the US and UK. For a pet dog either side works. Pick one side for heel and keep it, so the dog always knows where to be.
How long does it take to teach a dog to heel?
Many dogs learn the position in a few short sessions. Holding it for longer, through turns and past other dogs, takes weeks of short daily practice. Young dogs and dogs who pull hard on walks usually need more time near distractions.
Should my dog heel for the whole walk?
No. Heel is hard work for a dog. Use it for 10 to 30 seconds at a time where you need it, then release into a loose lead with sniff time. A walk that is all heel leaves the dog with nothing to do but follow you.
Work with me
A $150 consultation or $500 monthly curatorship. Opens WhatsApp to Andrew.